How To Show Author In Track Changes For Word 2016 For Mac
Microsoft continues to add exciting features to Word with each new version that’s released. The “Track Changes” feature has been around since Word 2003, and it still works the same today as it did back then. When creating a Word document there’s nothing extra you need to do. The Track Changes feature only comes into play when an editor, or customer, gets the first draft of a newly created document. Here’s how to use Track Changes: Begin by opening the document in Word. Next, click on the “Review” Tab.
The Review Tab There are many helpful features under the Review Tab. The first section is called “Proofing.” This is where you can find the tools you need to write an article or essay. The Proofing section lets you check spelling and grammar, do research, or check the Thesaurus, and get the actual Word Count in a document. In many instances, it’s important to know the word or character count, especially for SEO (Search Engine Optimization) when writing content for information on the Internet. The next section under the Review Tab is called “Language.” Here you can translate a document or choose a different language to write with. You might be more comfortable writing in Spanish or German.
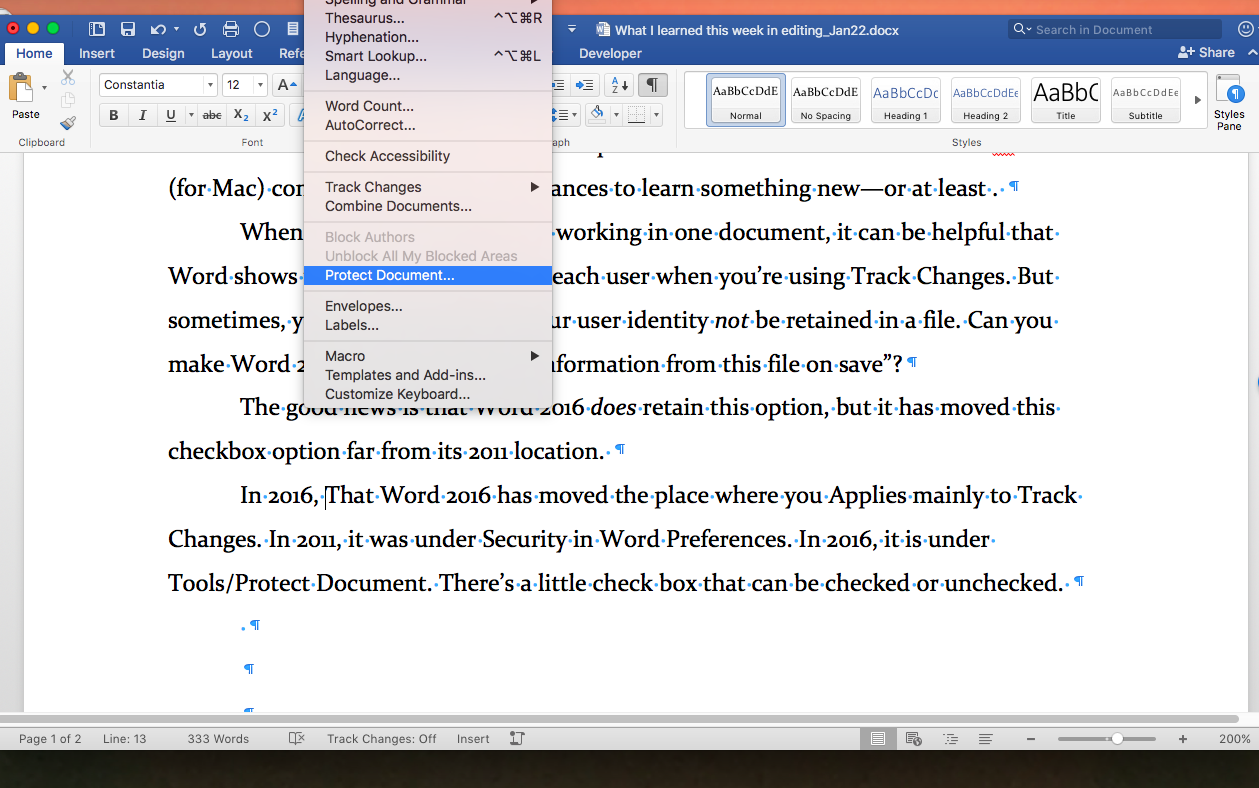
Track Changes modifies author/color when document is saved. (assuming it was a Mac Word bug) and then searching to find this thread. Still have to go back and now re-mark my changes to get them to appear in a different color. Tuesday, September 27, 2016 5:27 AM. Reply Quote text/html 9/27. A user called in, reporting that Word’s Track changes-function tagged her as “Author”, instead of her name. Open subtitles player mac os x. I opened a remote session, and started out by confirming that everything else was working correctly, and that her name had been set as the author in the settings for Microsoft Word.
Or you may have been hired to write blogs for a French company. Microsoft excel for mac 2011. In any case, this is a handy tool to use when you write or edit in a different language.
The next section under the Review Tab is titled “Comments.” This is easy to use. However, there are a few things to be aware of. Be sure to place your cursor in the sentence at the exact place where you’d like to make your comment. Then click on “New Comment” and start typing.
To delete a comment, simply right-click on the comment and choose “Delete” from the drop-down list. Now “Tracking.” Under this section, you’ll find “Track Changes,” “Balloons,” “Final Showing Markup,” “Show Markup,” and the “Reviewing Pane.” By hovering over any of these, you can get more information about what they do. Let’s take these, one at a time, and go over how to use them correctly: Track Changes Once you click on Track Changes, any typing you do in the document will be red and underlined.
To stop Track Changes, simply click on it and your typing will return to normal. In most situations, you would not want to turn on the Track Changes feature while writing or creating your initial document. It should only come into play after you’ve completed the article and sent it to an editor or client for their review. Once the editor gets the article for review, they will turn on “Track Changes.” This will allow them to go into the document and make changes that are readily visible to everyone.