Windows Os Mirror For Mac Virtual
May 15, 2017 - The Virtual Lab is available 24/7 for student use and may be accessed from any computer running Mac OS, Windows, and Ubuntu, and many. Mirror Display is Mac app available for $1.99 in the Mac app store that lets you share your screen with up to 10 devices via a web browser. The app provides you a simple address that you can open from any device’s browser (Window’s PC, iPhone, Android, Windows Phone, iPad, Kindle etc.).
NOTE: This tutorial is now considered outdated and I've published a new instructable with a newer, better and more efficient method to install Mac OS X on your PC, not RUN it! Please refrain from using this tutorial and follow the Even if you're a Windows user, you've probably thought about trying the Mac OS X. Maybe you'd like to test OS X before buying a Mac or building a Hackintosh, or maybe you just want to run an app on your Windows machine which is only exclusive for the Mac OS X. Whatever your reason is, you can actually install and run OS X on any Intel-based Windows PC with a program called VirtualBox. Running OS X on your Windows desktop will take a bit of work, but it's pretty easy to do and the final product is quite outstanding. Thanks to and for providing the original instructions! To cut to the chase, here's how to do this.
Before you start the installation process, you’ll want to gather the following: - A PC running 64-bit Windows with at least a dual-core processor and 4GB of RAM. Mountain Lion is 64-bit, and thus requires your copy of Windows to be 64-bit. If you’re on a 32-bit version of Windows, you can install Snow Leopard instead (Google it as this instructable is for Mountain Lion not Snow Leopard). Note that your processor also needs to support VT-x. Should help you find out whether yours does.
- and the VirtualBox Extension Pack: VirtualBox is my favourite virtualisation tool for Windows, and it’s completely free. VirtualBox doesn’t officially support OS X, but it’s actually very easy to get up and running. You should download the main program and the Extension Pack, which will give you support for USB devices. - A hacked Mountain Lion disc image.
Sadly, this won’t work with a vanilla Mountain Lion installer, so you’ll have to find a compatible hacked version. The hacking group Olarila has put a great installation ISO together, and you can find it by searching Google. If that doesn’t fit well with you, you can head over to the Mac App Store and, so you can at least pirate with a clear conscience.
- The and ISO files. Each one has it's own function which you'll know later. However, both will help you boot into the installation. -, which will help you get audio and other things working correctly after installation.
You’ll need to register for a free account over at Tonymacx86.com to download this. Make sure to download MultiBeast 4 — it’s labelled “Lion”, but for our purposes the Lion version works better than the Mountain Lion version. Before we install OS X, we’ll need to set up VirtualBox so the OS X install disc can boot correctly.

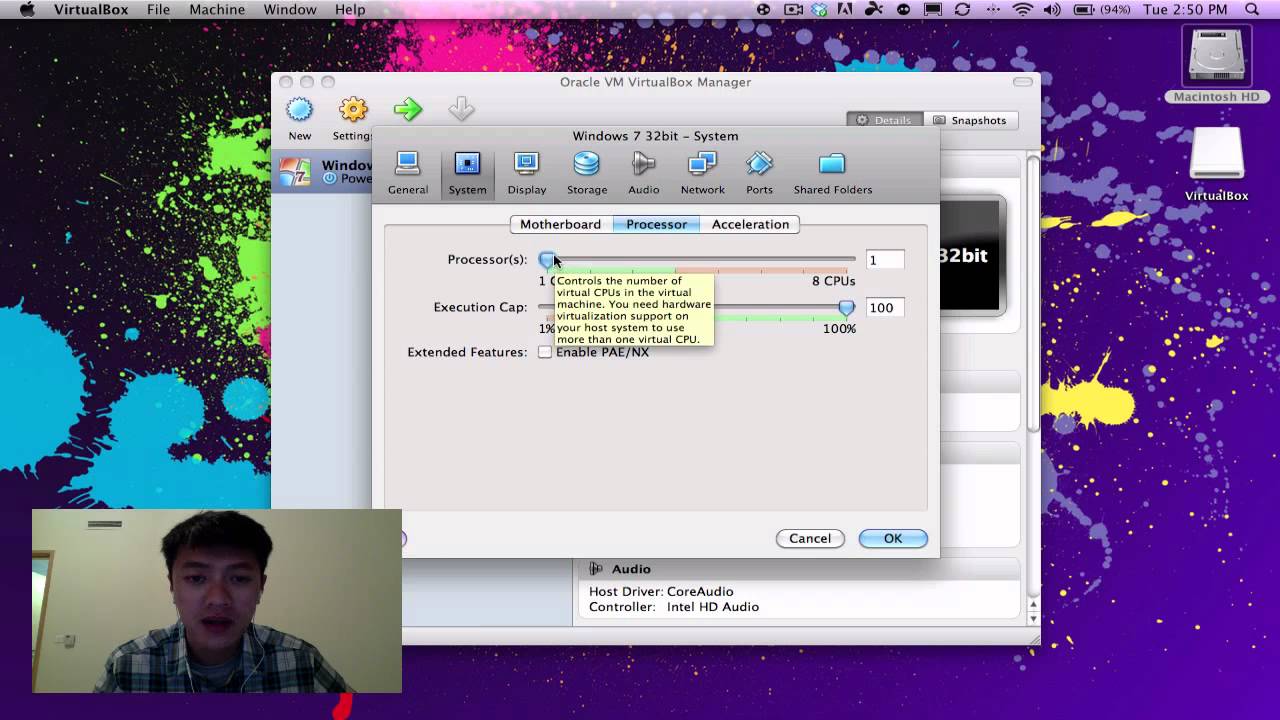
Here’s what you need to do: Step 1: Launch VirtualBox and click the New button. Give your new virtual machine a name (I just called it “Mac OS X”) and set the operating system to “Mac OS X Server (64-bit)”. See the picture of step number one. Step 2: Click Next and choose how much RAM to give your virtual machine. Kingsoft office for mac os x 下载. This depends on how much RAM is in your system — you can get away with 2GB, but if you have more, give it more. 4GB of RAM should be a good amount, though I gave mine 4GB, you can set it till 6GB if you have spare.
See the picture of step number two. Step 3: Click Next again and choose “Create New Disk”. Create your new disk in VDI format and with dynamically allocated storage.
When you’re done, VirtualBox should take you back to the main screen. This step is easy, so it does not need a picture.
Step 4: From here, right-click on your OS X machine in the left sidebar and click Settings. Head to the “System” section and uncheck “Enable EFI”. Same as step 3, it's easy, so it does not need a picture. Step 5: Click on the Storage section of the settings and click on the CD icon that says “Empty” under Storage Type. Then, click the CD icon next to the “CD/DVD Drive” dropdown list and select “Choose a Virtual CD/DVD Disk File”.